Create your first Verification
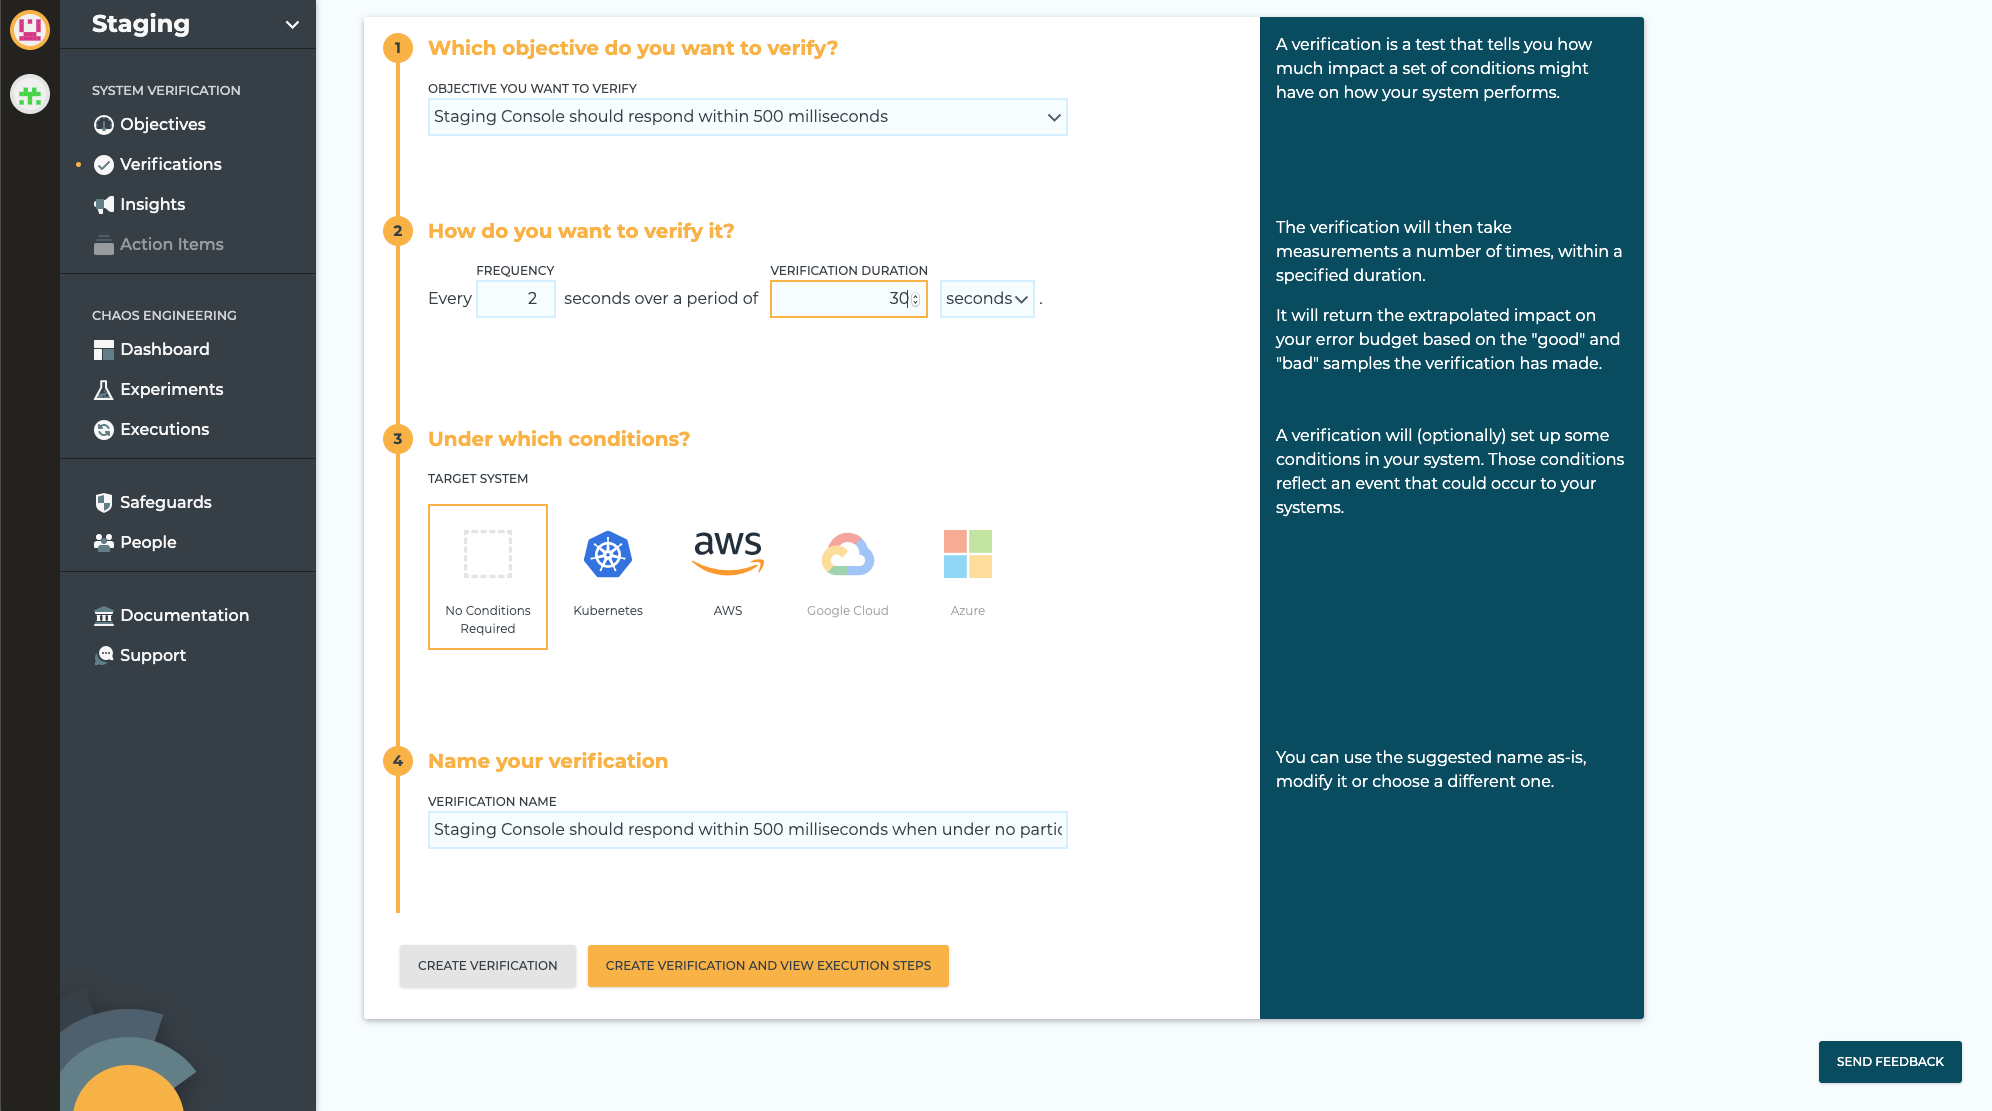
First you need to indicate what objective this verification is being built for. An objective may be pre-selected, or you will need to select the objective from the drop-down list. Then you will enter a frequency in seconds and over what duration your verification will be run. The values chosen on these fields impact your usage footprint in ChaosIQ so a high usage warning may be displayed.
Next you will select and specify the conditions you want to apply as part of your verification. The first option is to apply No Condition, which means you are going to measure your verification but you are not going to apply an adverse effect as part of your Verification. This is a good case for a control Verification as it establishes how the Verification performs in normal conditions. In this case leave the condition as No Condition and select the Create Verification and View Execution Steps button to move on to the Run your Verification page.
Finally you are prompted to give your verification a name that reflects what this Verification is going to do. Based on the objective you are verifying, and the conditions that you selected, a name for your new verification will have been created and suggested for you. If you prefer you can override this suggestion with a name of your own. An example could be “Ensure My Service remains available when a Web Service POD restarts.”